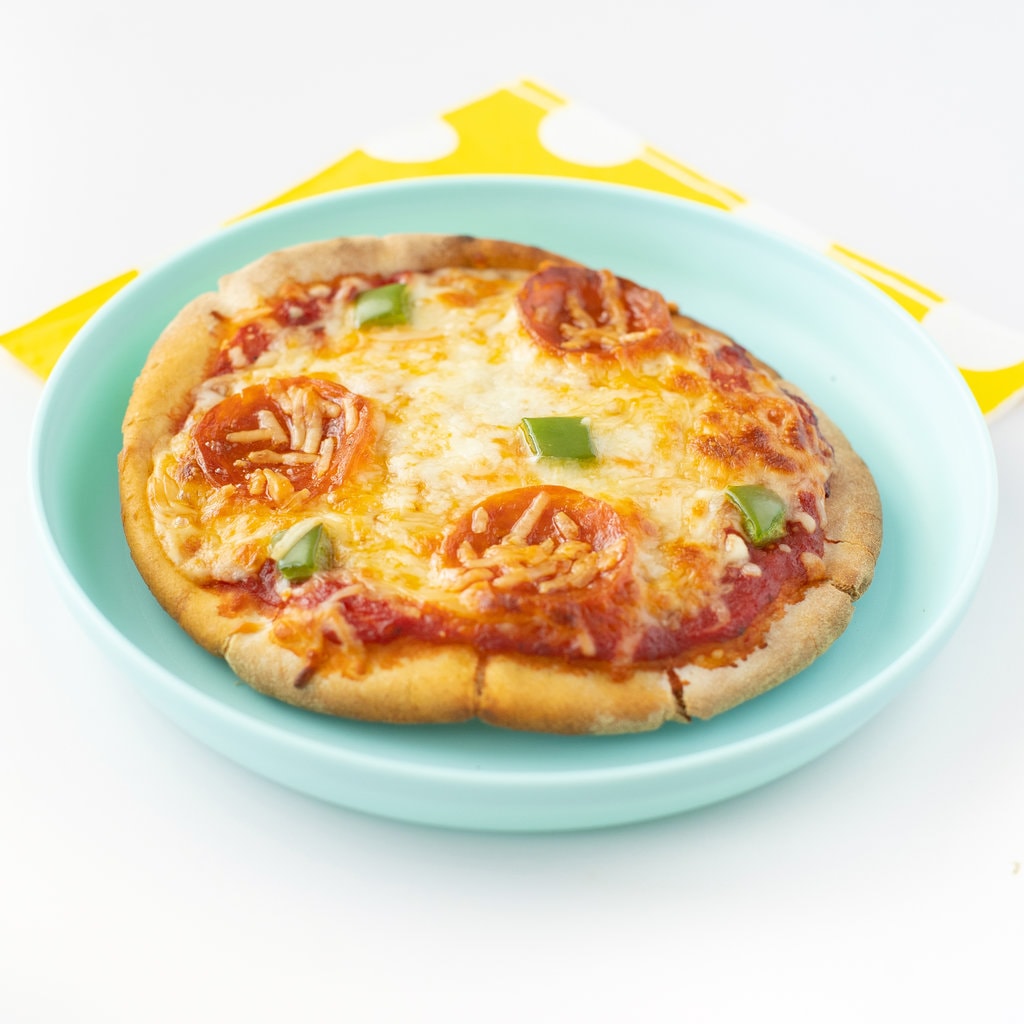
Kid-Requested Crispy Pita Pizzas (oven or air-fryer)
I can’t even count how many times I’ve made these pita pizzas for my kids! It’s probably in the hundreds at this point. And every.single.time, they are a smashing success! My kids love them! I love them! My cat even licks the cheese off the plates, so I assume he loves them! A crispy pita crust with pull-worthy melted cheese, it’s like heaven on a plate! Plus, they take only 10 minutes to make in your oven or air-fryer, which is everything on those bus weekday nights.

Easy Pita Pizzas
Looking for an easy family dinner that your entire family will L-O-V-E?
Then, I’ve got you!
These adorable little pita pizzas are my secret weapon for getting a meal on the table in record time. No-bake crust = no problem! And they’re just as easy to freeze and reheat as they are to put together.
My oldest kiddo loves to add mushrooms and peppers (not your typical kid toppings, I assure you), while my youngest goes with the classic pepperoni. I love to do a pesto, chicken (if I have leftover chicken), artichokes, olives, and a bit of garlic. I toss a quick salad while the pizza cheese is melting in the oven, and I call dinner done.
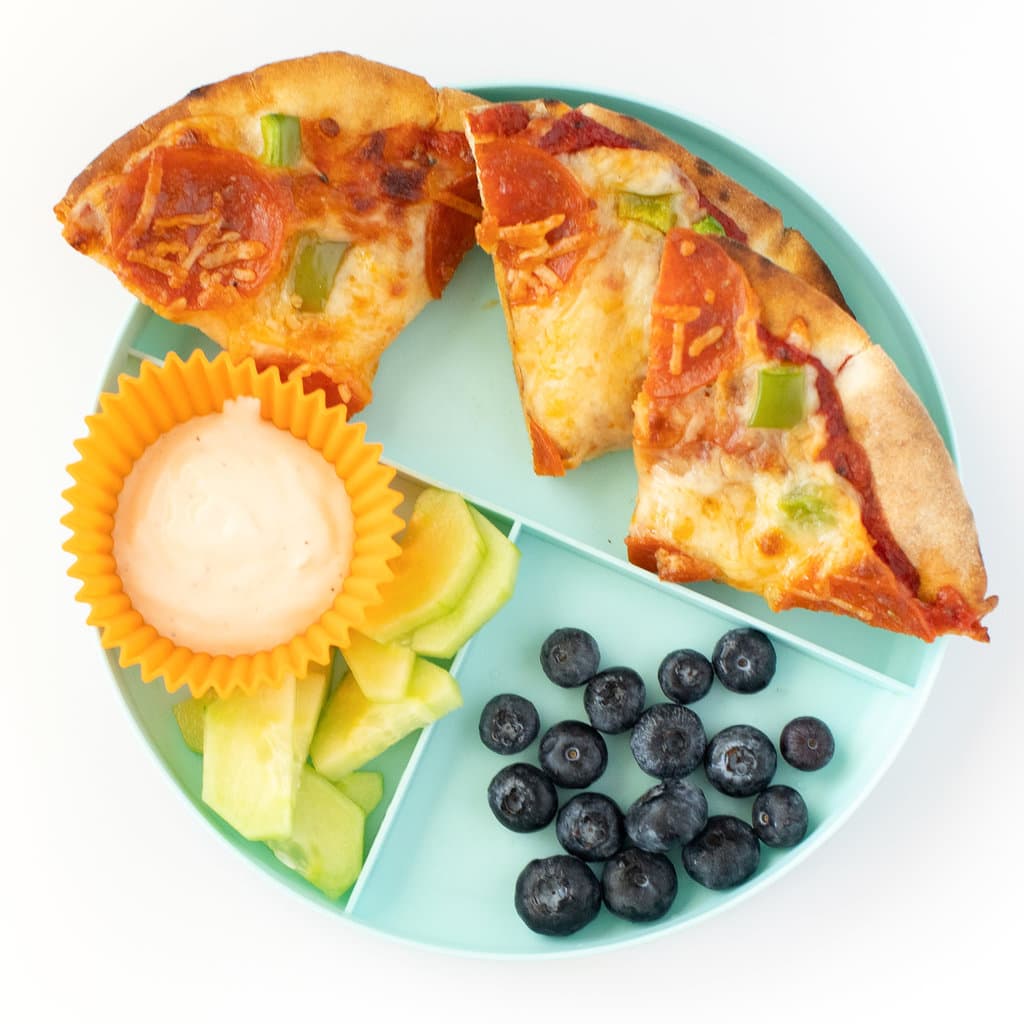
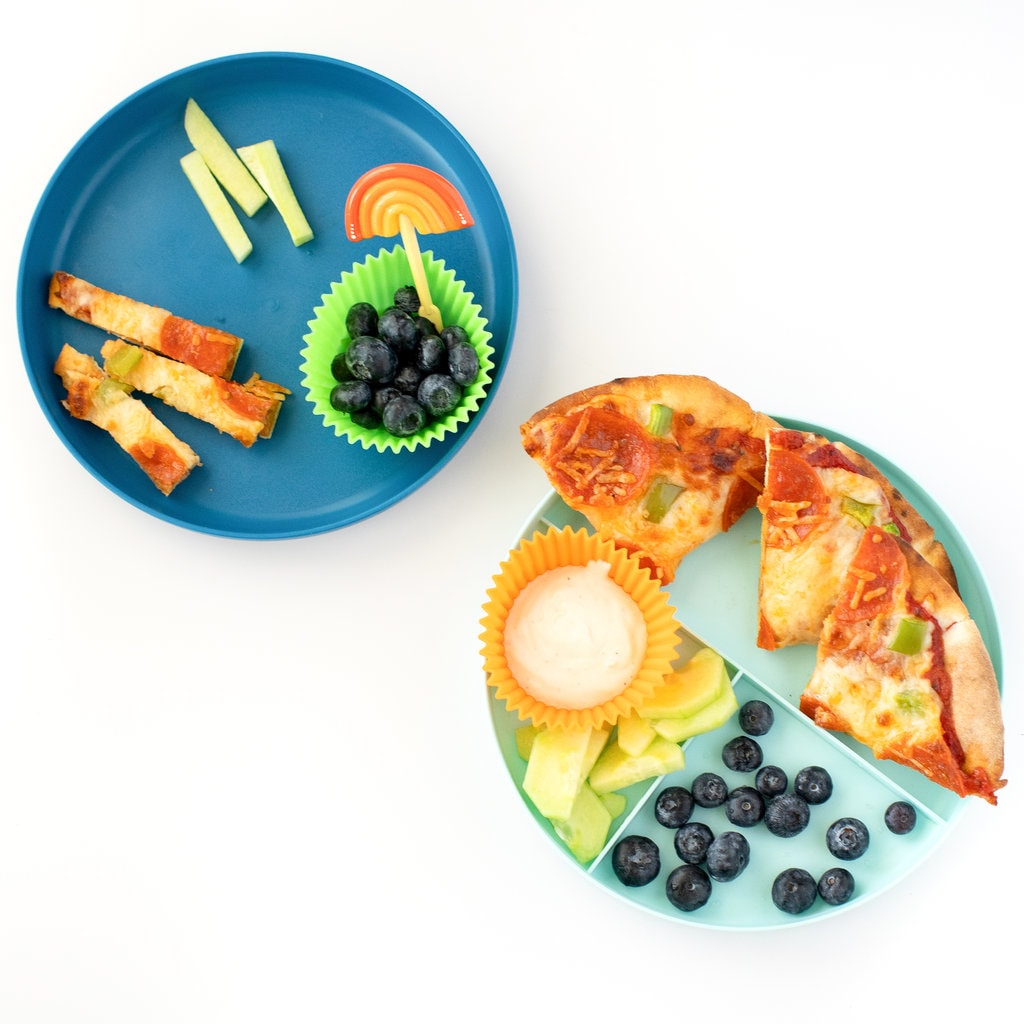
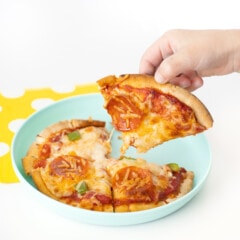
#momhack—I always make a double serving of these pita pizzas, one to serve for dinner while the other one is cooled and then packed into their lunch boxes for the next day.
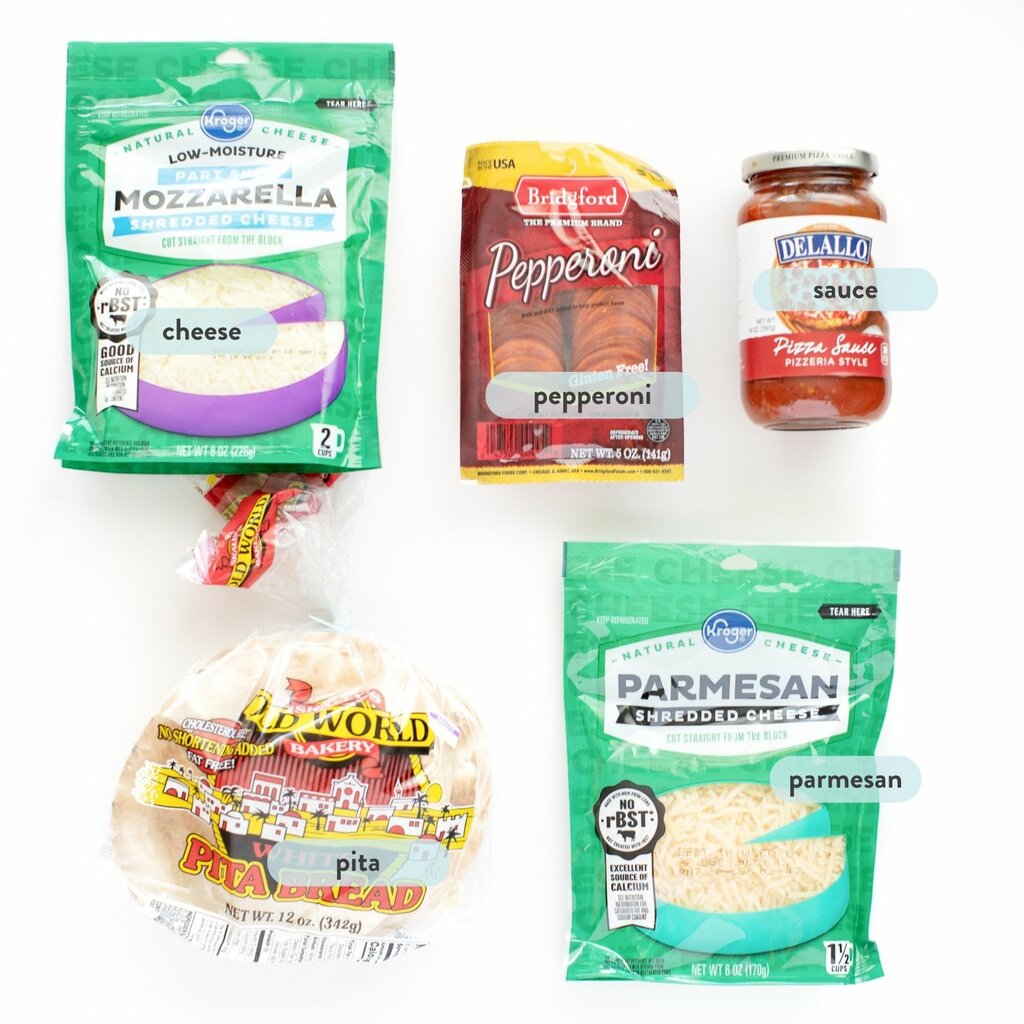
Ingredients
Let’s Get Baking
Pita Pizza Variations
One of the best things about these pita pizzas are all the choices you can make for toppings! Veggie or meat lovers, extra cheese or bbq-style pizza, it can all be done!
Sauces
- Hidden Veggie Pizza Sauce or Veggie Loaded Pasta Sauce
- Any store-bought pizza or pasta sauce
- Spinach Basil Pesto
- Barbecue Sauce
- or just brush with olive oil!
Toppings
- Veggies: bell peppers, mushrooms, onions, broccoli, tomatoes, spinach
- Cheese: mozzarella, parmesan, provolone, cheddar, “jack” cheeses, feta
- Meats: pepperoni, ground sausage, chicken, bacon crumbles
Combos
- Classic: Hidden Veggie Sauce + Pepperoni + Mozzarella
- Veggie: Tomato Sauce + Bell Peppers+ Onions + Mushroom + Mozzarella
- BBQ: Barbecue Sauce + Shredded Chicken + Cheddar Jack
- Italian: Pesto + Ground Sausage + Bell Peppers + Provolone
- Greek: Olive Oil + Tomato + Black Olives + Feta Cheese
Expert Tips
- Less is more, when it comes to toppings. Putting on too many toppings, especially sauce or ones with more water content, like tomatoes or pineapple, can create a soggy pita pizza that’s difficult to pick up and eat.
- If you’re watching sodium content for toddlers and younger kids, use cheese like fresh mozzarella, fresh ricotta, and goat cheese, as they contain less sodium than some traditional cheeses, like parmesan or pecorino romano. You might also want to serve ham, sausage, and pepperoni sparingly for toddlers, as these meats can be saltier.
- Kids love to be creative and eat food that looks like something familiar – encourage them to use toppings to decorate their pizza with a smiley face, different shapes or letters, veggie rainbows, you name it!
Get the recipe: Kid-Requested Crispy Pita Pizza (oven or air-fryer)
Ingredients
- 2 pitas
- 1/2 cup pizza sauce, pasta sauce or pesto
- 1 cup shredded cheese,
- 1/2 cup toppings of choice (optional)
- 2 tbsp parmesan
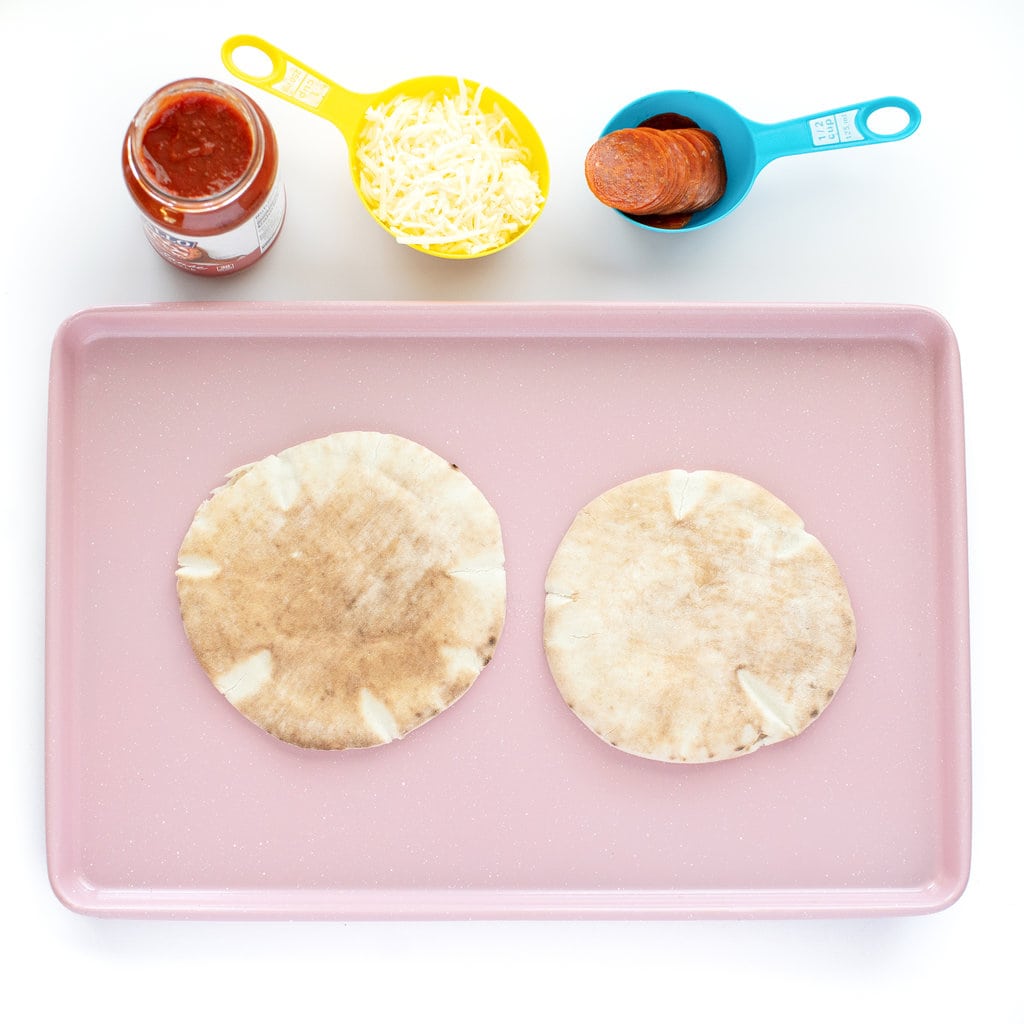
Instructions
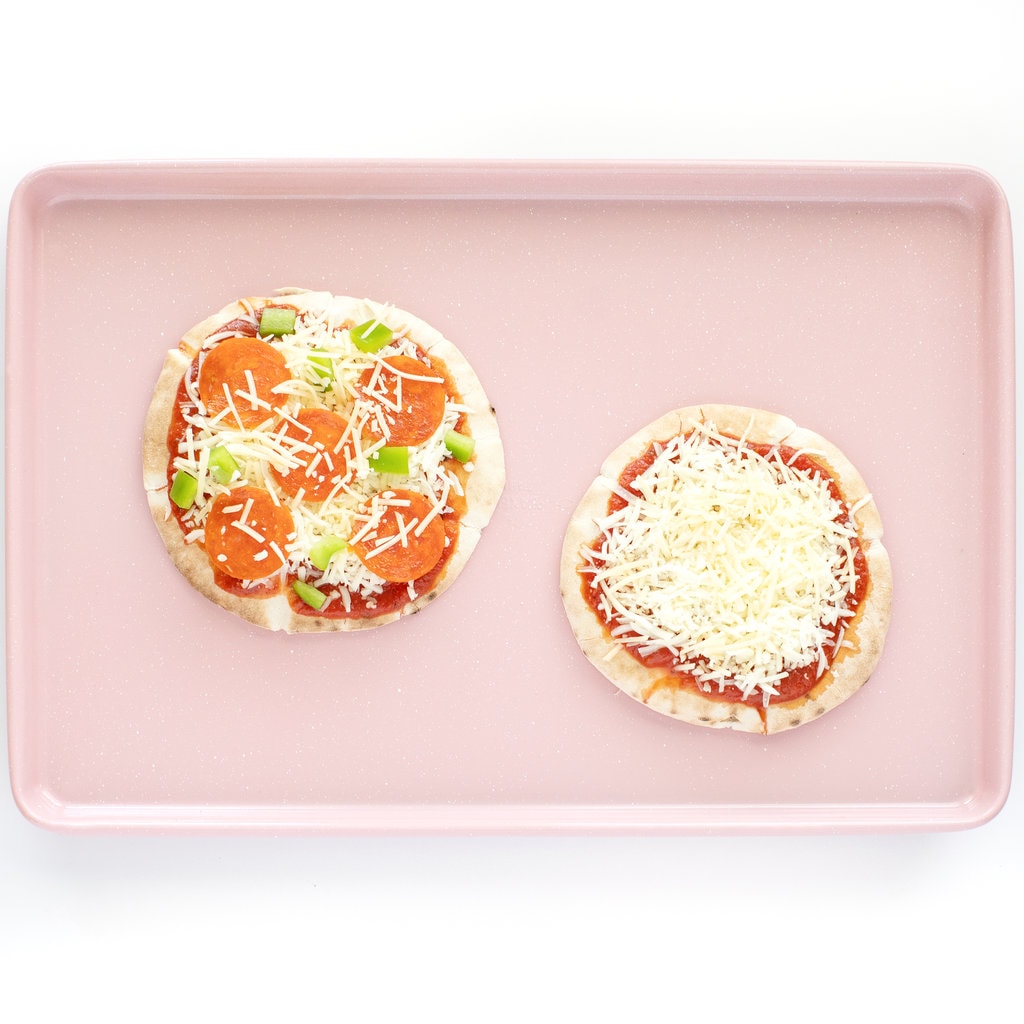
- Prep: preheat oven to 450° F. Line a baking sheet with parchment paper for easier cleanup.
- Toast Pita: add the pitas to the baking sheet. For a crispier crust, place the English muffins in the oven for 3 minutes.
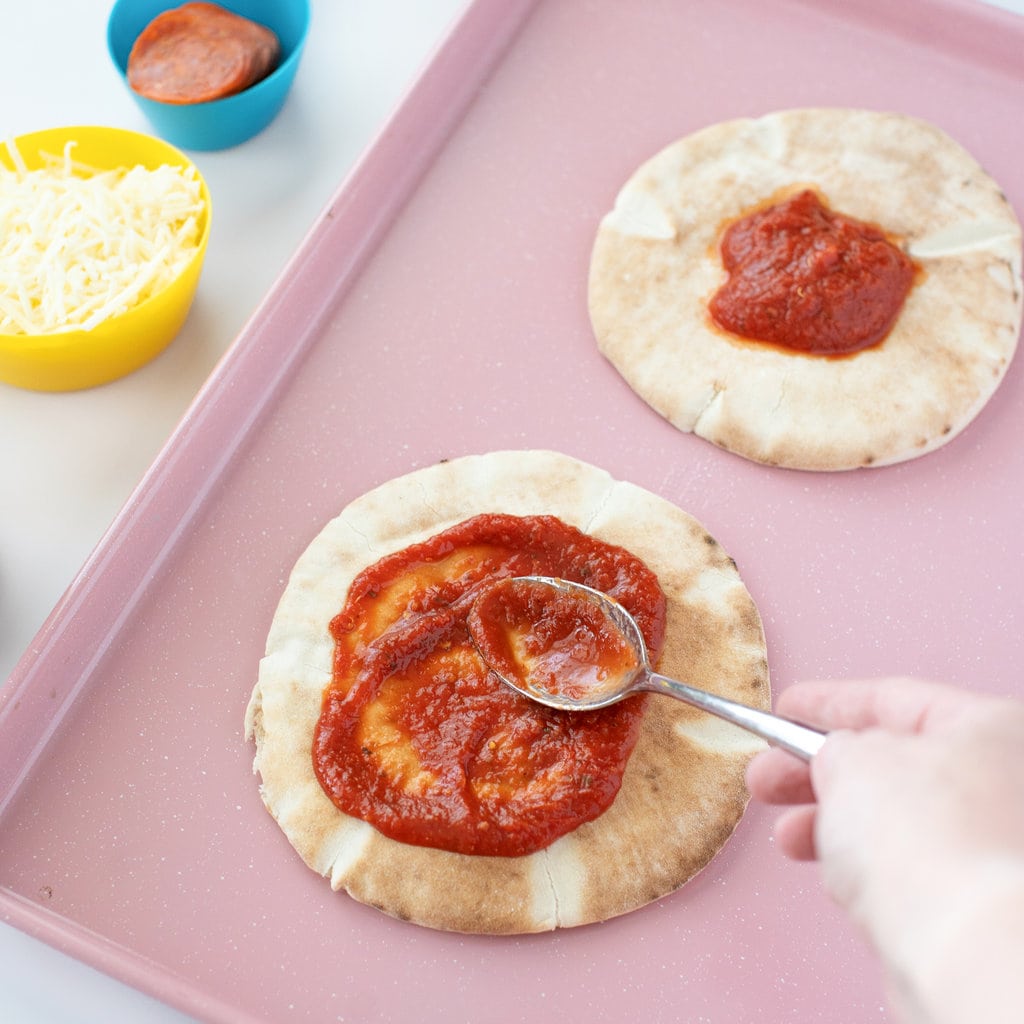
- Spread Sauce: spread the toasted pita with the sauce of your choice.
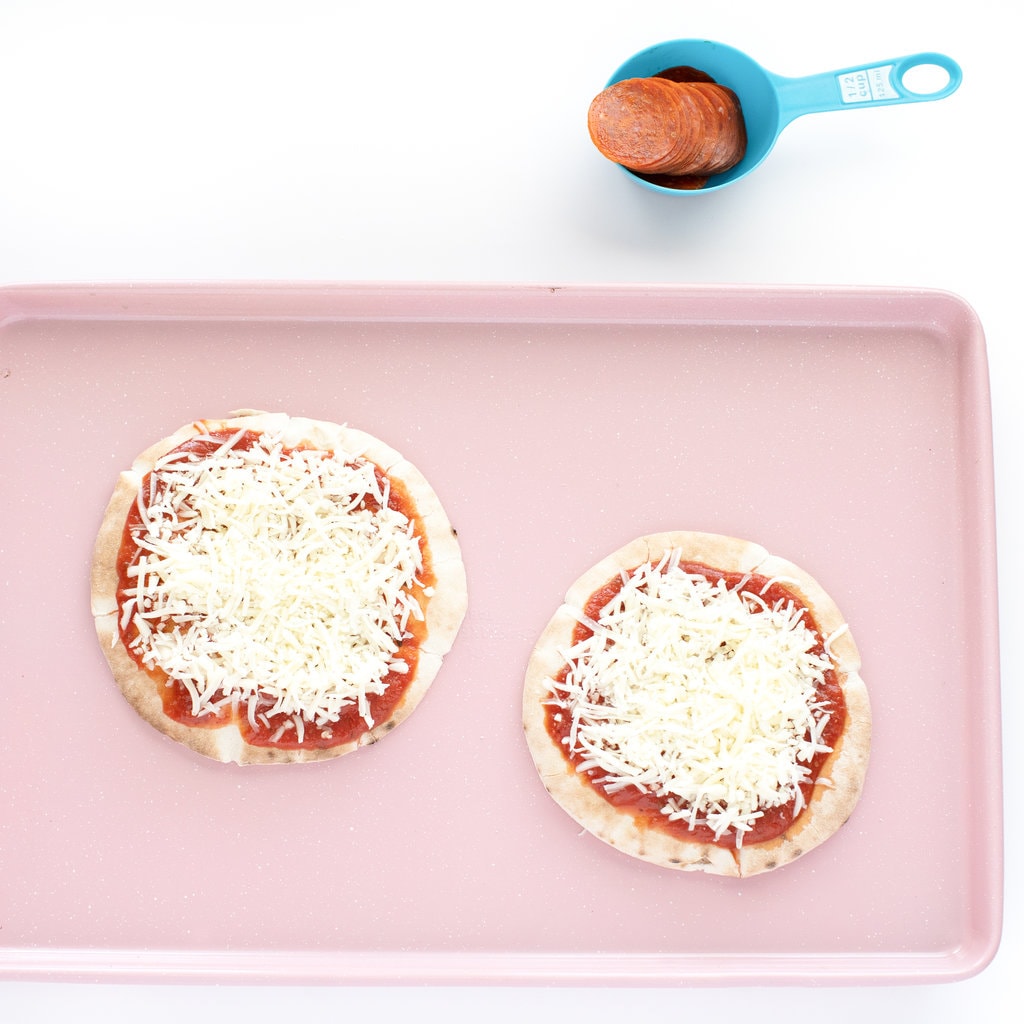
- Add the Cheese: Next, sprinkle on your cheese, avoiding clumps.
- Toppings: Scatter the toppings evenly on top of the cheese. Sprinkle with a pinch of parmesan.
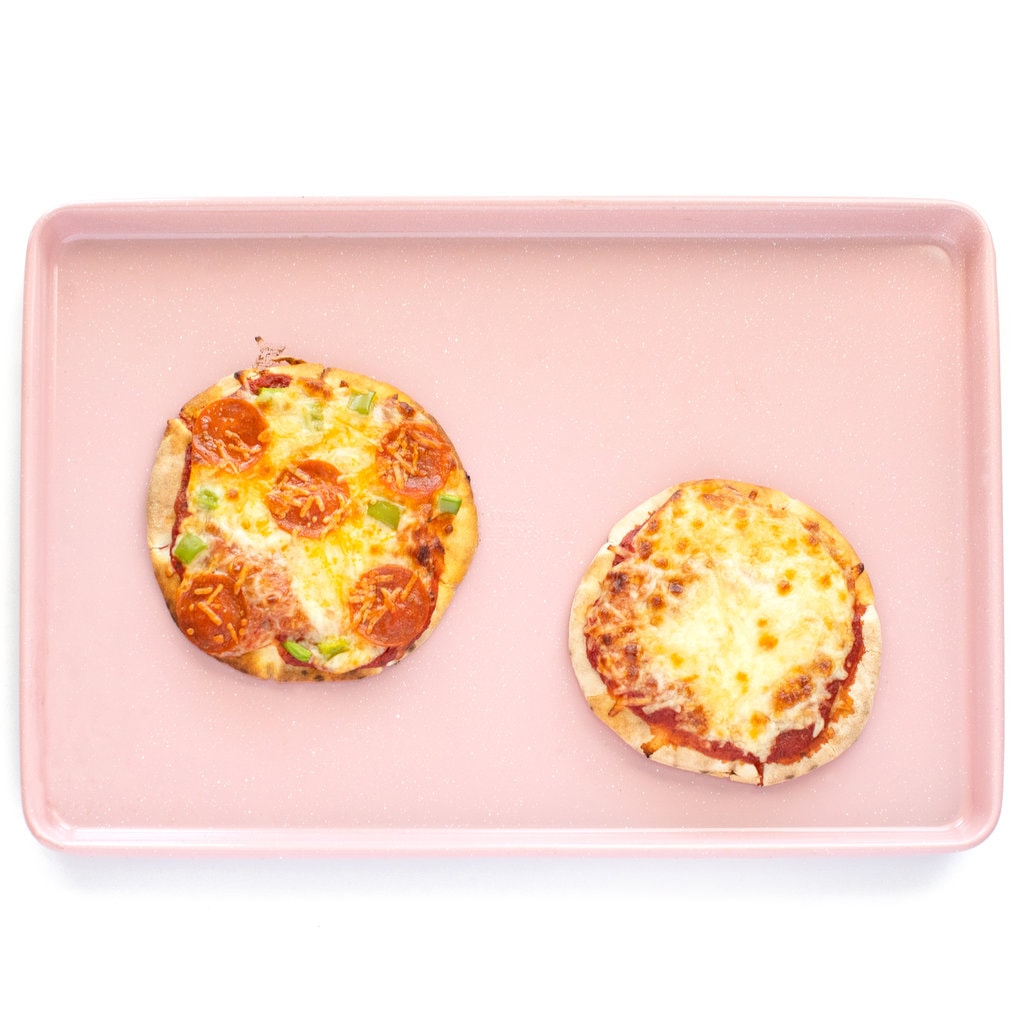
- Bake: Place the pita pizzas into the oven and bake for 6-8 minutes or until golden brown and the cheese is bubbling.
- Done: Serve warm or set aside to come down to room temp for freezing.
Notes
- Veggies: bell peppers, mushrooms, onions, broccoli, tomatoes, spinach
- Cheese: mozzarella, parmesan, provolone, cheddar, “jack” cheeses, feta
- Meats: pepperoni, ground sausage, chicken, bacon crumbles
Toddlers
- Can help spoon and spread on the sauce.
- Toddlers love to sprinkle on the cheese and to add their toppings.
Kids
- Kids can preheat the oven.
- They can spoon and spread the sauce.
- Kids love to sprinkle on the cheese and add their own toppings.
- With an adult’s help, kids can place the baking sheet into the hot oven and set the timer.
- Gluten-Free: use a trusted brand of gluten-free pitas and gluten-free toppings.
- Dairy-Free: vegan cheeses have come a long way in their replication of taste, texture, and behavior (Melty! Bubbly! Stretchy!) so try plant-based mozzarella or parmesan-style shreds. If that doesn’t appeal, you can absolutely still have delicious pizzas sans cheese!

Did you make this recipe?
Tag @babyfoode on Instagram and hashtag it #babyfoode!
Medically reviewed and cowritten by Jamie Johnson, Registered Dietitian Nutritionist (RDN), and Lauren Braaten, Pediatric Occupational Therapist (OT).

5 Comments on “Kid-Requested Crispy Pita Pizzas (oven or air-fryer)”
My daughter loves it and it was so easy! Highly recommend the air fryer!
Thrilled to hear it turned out so well for you in the air fryer! Me and my girls make them all the time that way and it’s sooo easy! 💕, Michele
My grandson is 16 months…. How should I cut (what size pieces) the pita pizza??
Hi! You can cut it into smaller wedges or strips. You could also do 1 inch by 1 inch cubes which will help with the pincer grasp. xo, Michele
You can cut it into smaller wedges or strips. You can also cut it into 1 inch by 1 inch cubes. Just make sure it’s cool to the touch. xo, Michele