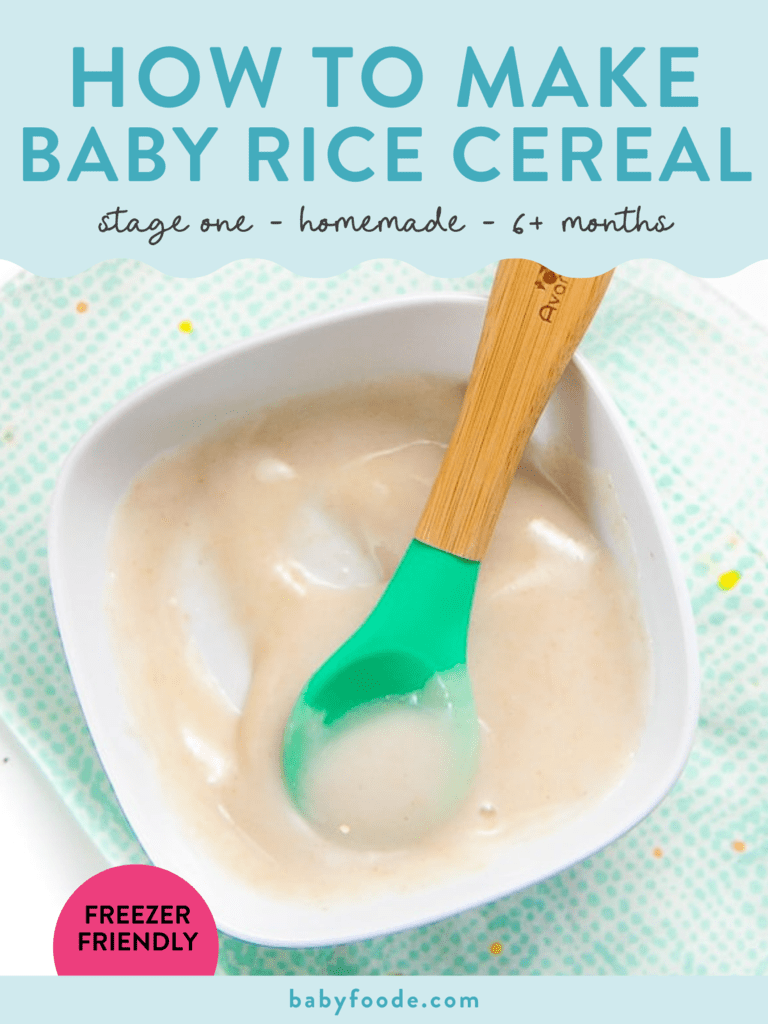
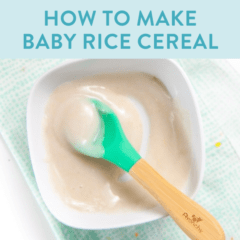
How to Make Homemade Baby Rice Cereal
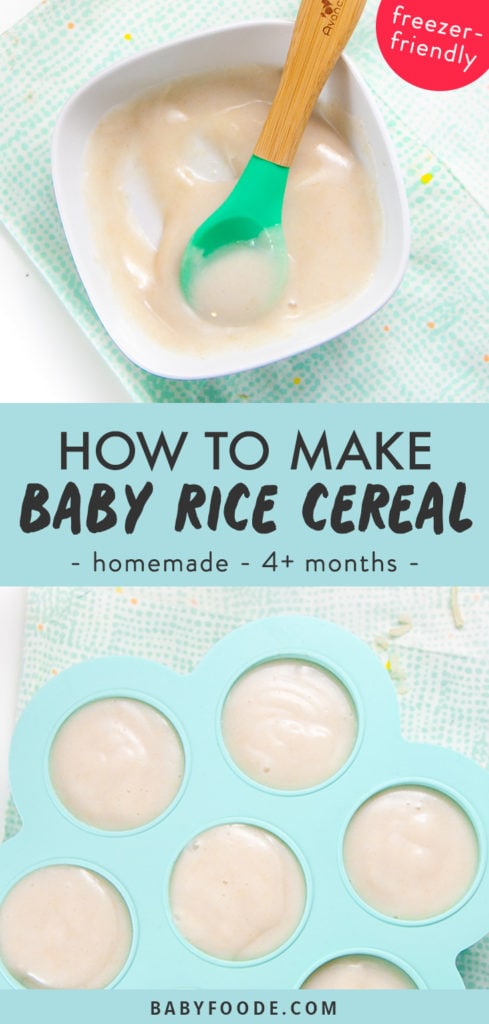
Using only 1 ingredient, this Homemade Baby Rice Cereal is a simple and easy recipe to make for your baby! Plus, it is completely freezer-friendly, so it’s a great addition to your freezer stash of baby purees. It’s great for babies 4-6+ months and up as a Stage 1 baby food.
Medically reviewed by Jamie Johnson, Registered Dietitian Nutritionist (RDN), and Lauren Braaten, Pediatric Occupational Therapist (OT).
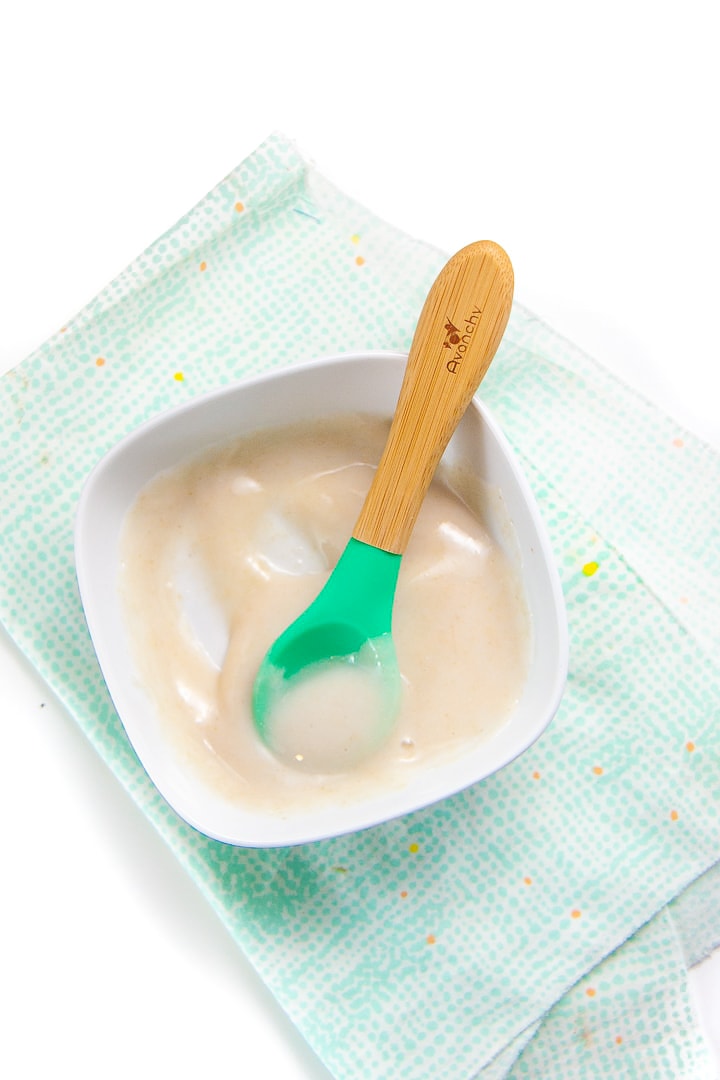
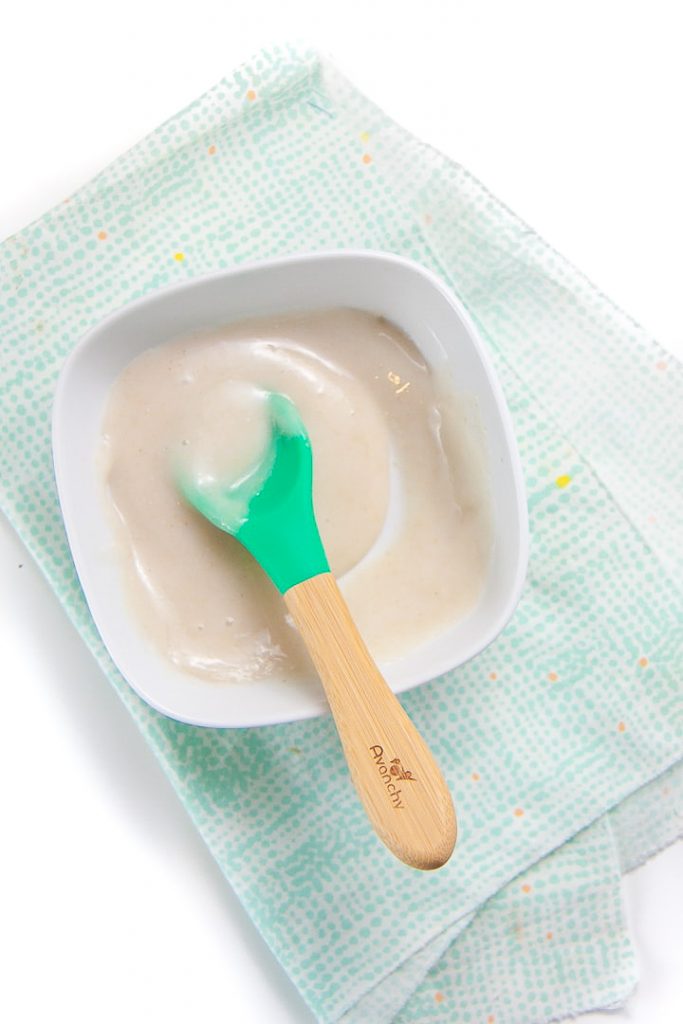
Homemade Baby Rice Cereal
Homemade brown rice baby cereal is packed with manganese, magnesium, and selenium. It is a good source of fiber, protein, and a ton of other essential vitamins and minerals for a growing baby. 💪
It’s a nutritious first food for your baby, and you can easily mix it with other fruit or veggie purees for a more wholesome and delicious meal! 😋
Plus, this homemade baby cereal is one of the easiest purees you can make for your baby! All you need is 1 ingredient and less than an hour of your time 🕐.
For this recipe, we will cook the brown rice, blend it up, and then pop it into the freezer for easy-to-grab cubes of baby rice cereal. I have found that this cooking method makes the creamiest and smoothest baby cereal you can ever imagine. Besides, there is nothing like having a freezer stash of healthy baby purees at your fingertips!
Is it your first time making homemade baby food? Then I suggest you start this journey by reading my in-depth Guide on How to Make Homemade Baby Food. The detailed guide goes over all the important information such as the best cooking tools to have on hand, safe storage, how to know when baby is ready for solids, how to introduce purees, the best first foods for baby, and more! You can also check out my best-selling cookbook for even more information and recipes!
Rice Cereal Video
Watch this video to see how easy making your own homemade rice cereal can be!
Reasons to Love this Rice Baby Cereal
- easy to make
- 1-ingredient puree
- simple and wholesome ingredients
- freezer-friendly — great to stash in the freezer
- free from allergens like gluten, dairy, soy, corn
- full of essential nutrients for a growing baby — fiber, manganese, protein, selenium, and magnesium
- works great stirred into other combination purees
- for babies 4-6 months and up — stage 1 puree
- mild taste
- creamy and smooth
Ingredients
Make sure to read the recipe card below for the full ingredient list and instructions!
- Rice: I recommend using organic short grain brown rice in this recipe. Brown rice has health benefits and loads of nutrients in it, as opposed to white rice, which has all of the key nutrients stripped from it. I would strongly recommend using organic brown rice as the cost difference ounce-per-ounce is very small and the the organic variety has not been soaked in pesticides. You can use either short or long-grain organic brown rice for this recipe.
- Water: This will be added to cook the rice. You can also use sodium-free bone broth or sodium-free veggie broth for more nutrients and flavor or a mixture of broth and water.
- Liquid for Blending: While blending the rice, you’ll need to add more liquid to thin out the rice into a puree. You can use water, bone broth, veggie broth, fresh breast milk, or formula.
TIME-SAVING TIP: If you are in a rush, you can use quick-cooked brown rice (I like the organic brown basmati rice from Trader-Joes) that only takes 20 minutes to cook!
Soaking the Rice
Soaking brown rice (or any grain) helps remove some of the naturally occurring phytic acids, which are some of the hard-to-digest components of the grain. Getting rid of these acids speeds up the cooking time and makes the rice easier to digest.
If you are introducing grains as your baby’s first food, soaking the grains would be helpful as your baby would have an easier time digesting the puree.
But if thinking 2-8 hours ahead of time is holding you back from making your own cereal, then feel free to skip this step.
How to Soak Rice: Place 1 cup of rice in a medium bowl and add 2-3 cups of hot water (enough to cover the rice) and leave at room temperature for at least 2 hours. You can also leave it overnight. Drain the rice and rinse well. Follow the recipe below on cooking and pureeing instructions, but note that the rice will cook faster, so check the rice after 20 minutes.

How to Make Baby Rice Cereal
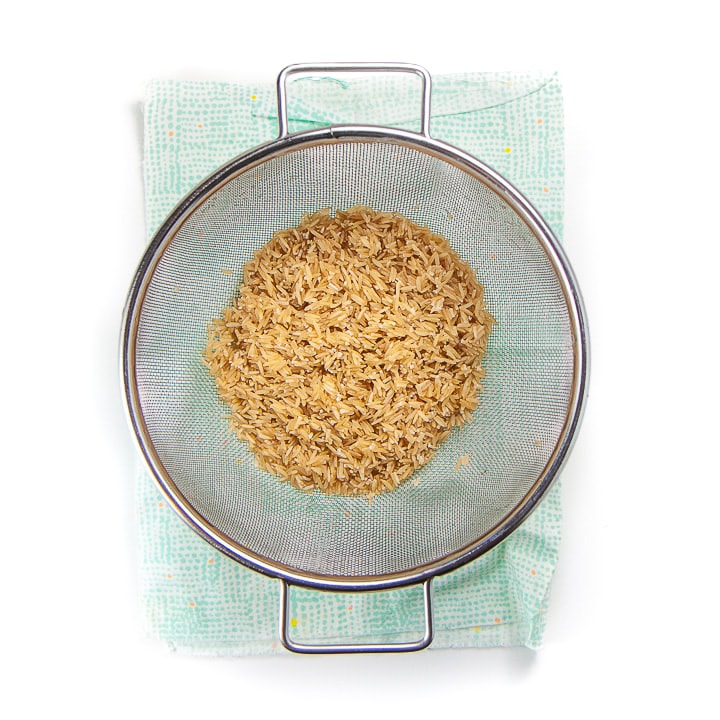
- Rinse Rice: Place the rice in a fine-mesh colander and rinse with cold water until the water runs clear. This will help remove any excess starch from the rice grains and make the rice fluffier and easier to blend. PLEASE DO NOT skip this step, or your puree will be starchy.
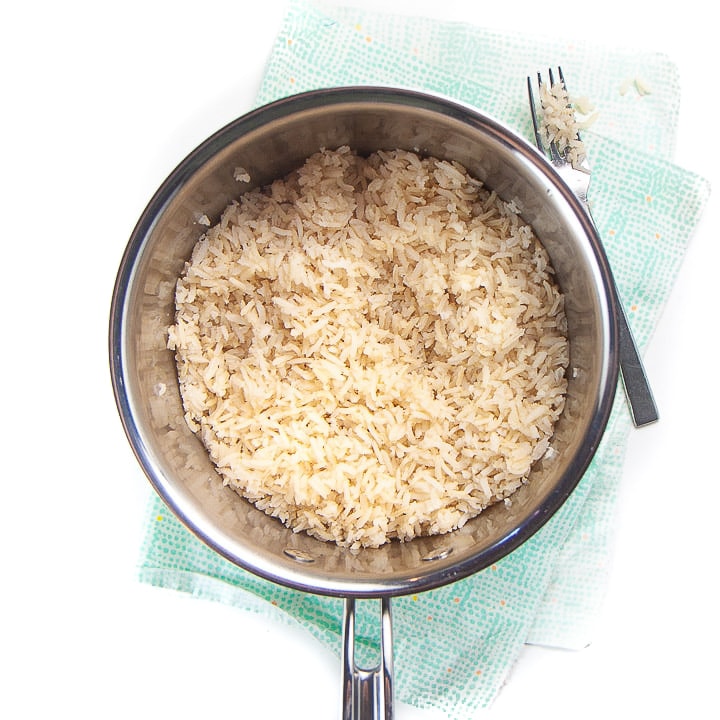
- Add to Saucepan: Add the water and the rice to a medium saucepan, cover, and bring to a boil over high heat.
- Cook: Once at a boil, turn down the heat, and let simmer on low for 35-45 minutes or until the water is gone and the rice is tender. Rice cooking times vary, so taste test the rice after 35 minutes to see if it is tender.
- Sit: Remove from heat and let it sit for 10 minutes.
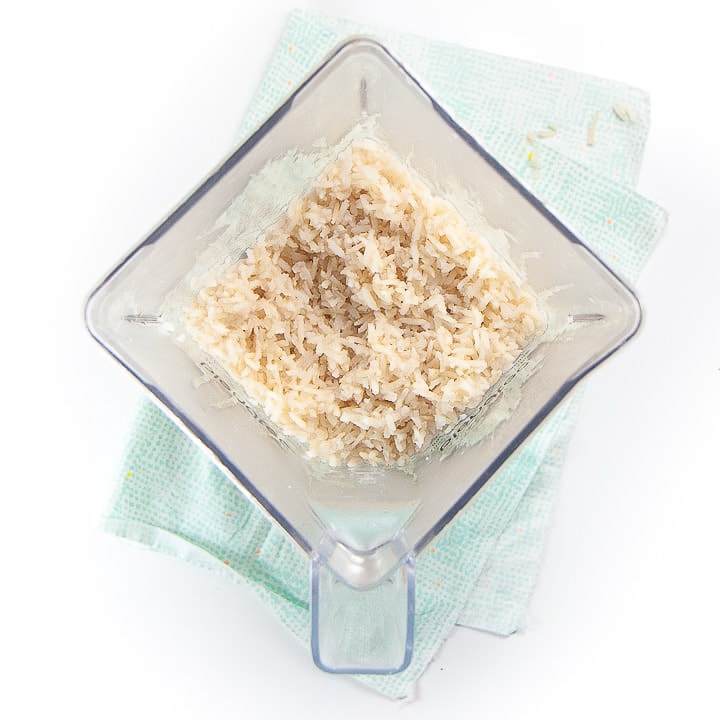
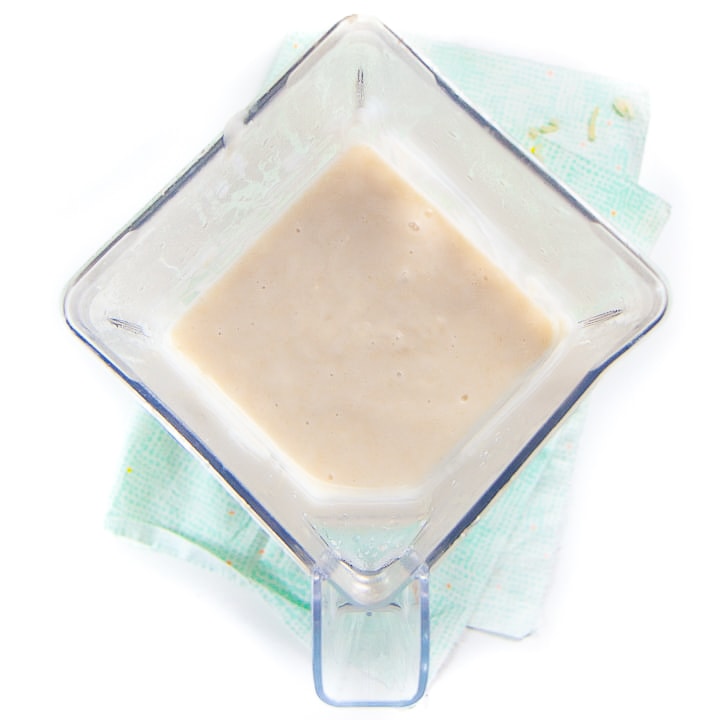
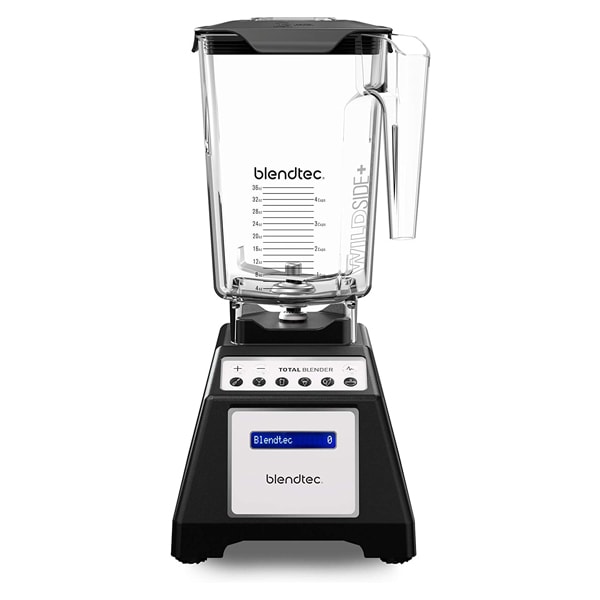
- Blend: Transfer the cooked rice to a blender or food processor and blend for 1-2 minutes, adding liquid to thin out the rice puree.
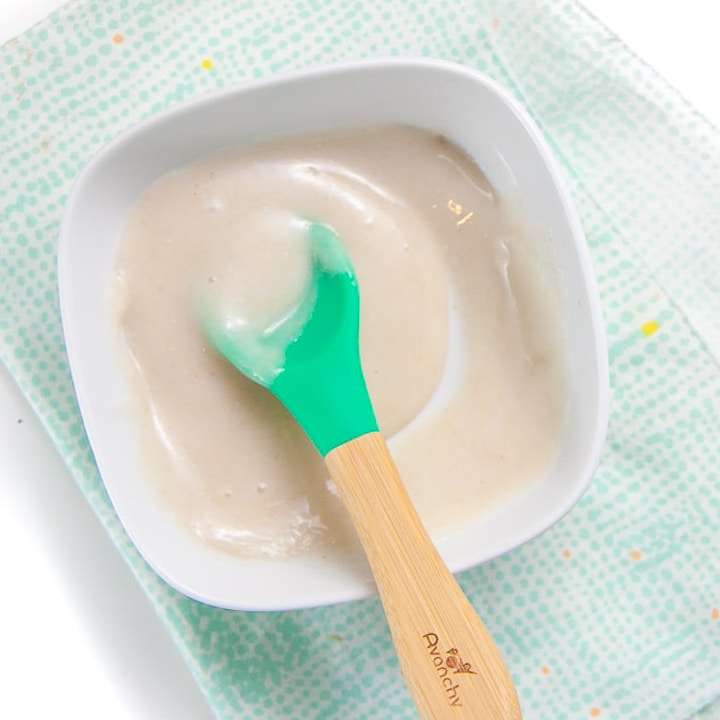
- Store: I recommend storing a small quantity of the rice puree in the fridge for use that week and then freezing the rest for future meals.
Tools Needed
- Blender or Food Processor
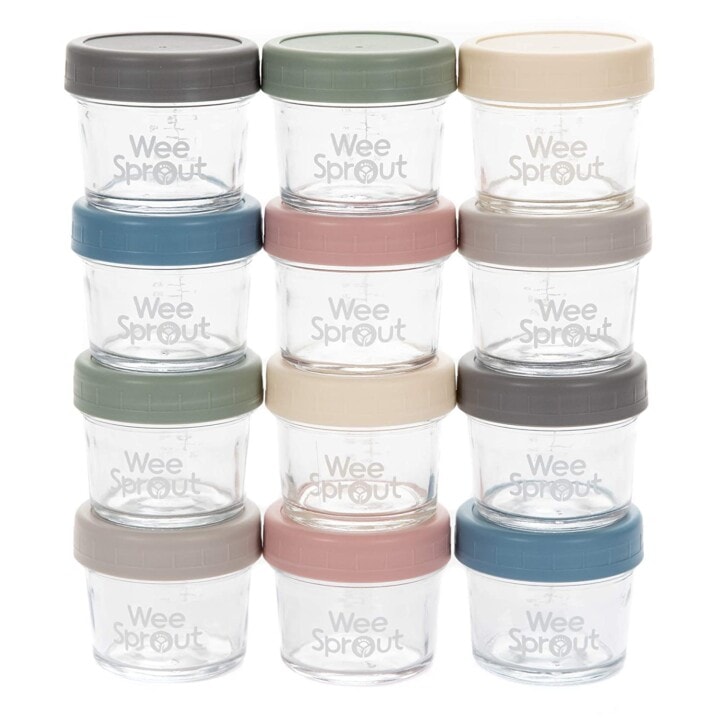
- Storage Containers for Fridge
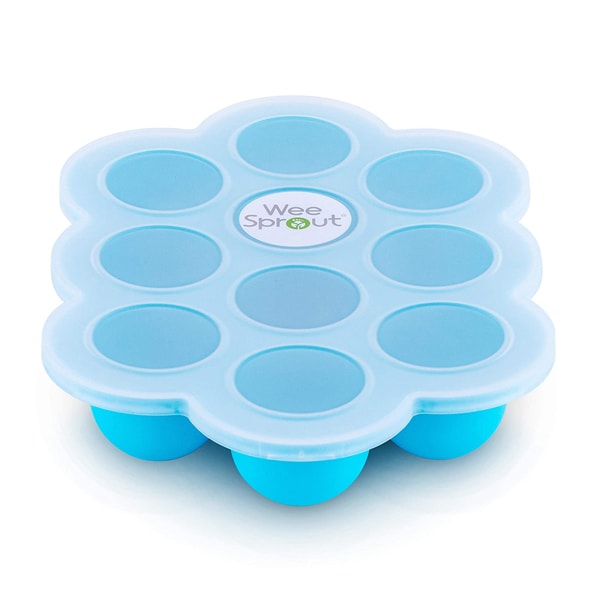
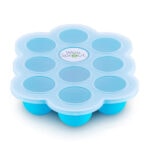
- Freezer Tray
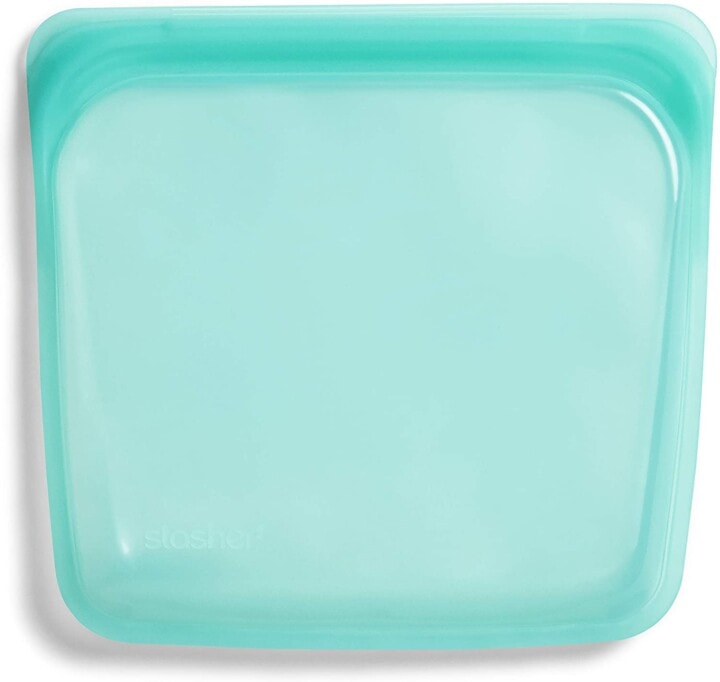
- Stasher Bag
- highchair
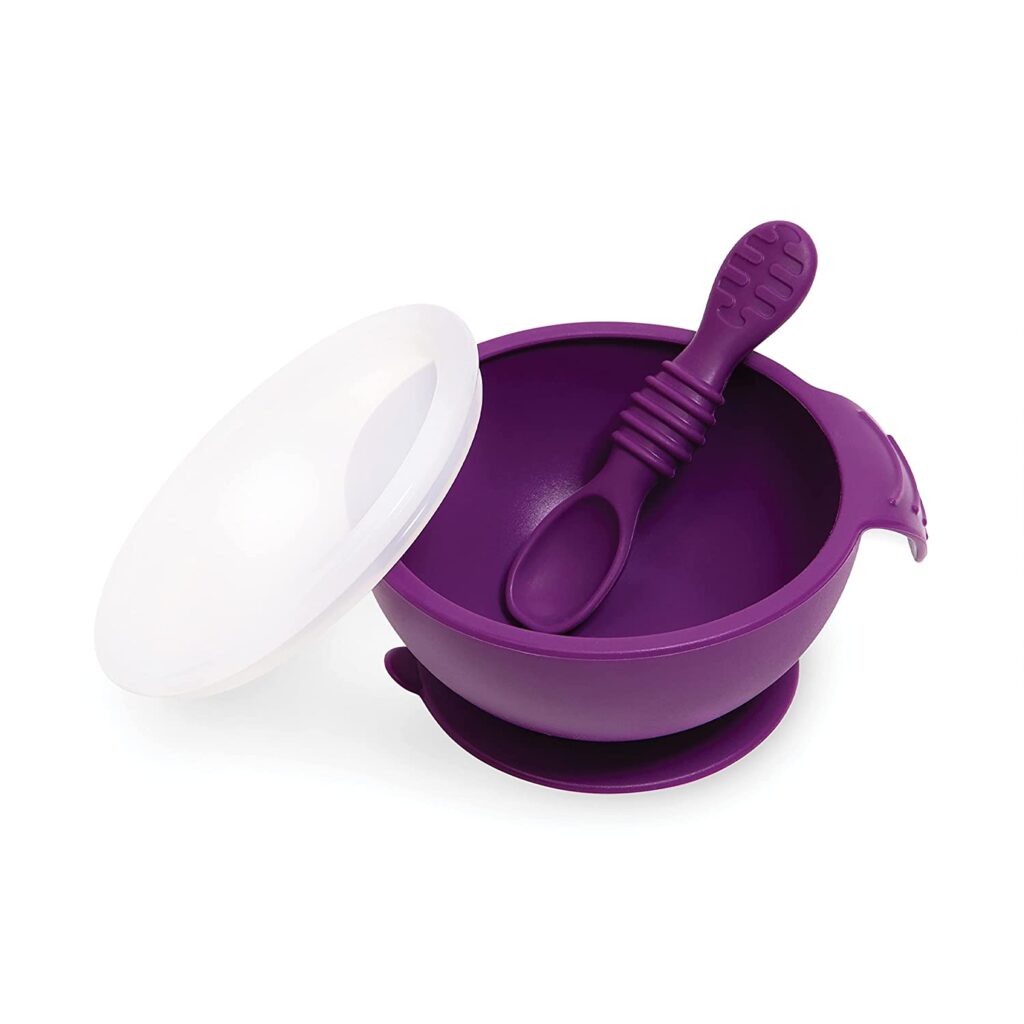
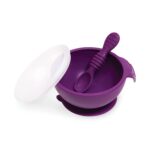
- suction bowl or baby bowl
- baby spoon
- open lid cup
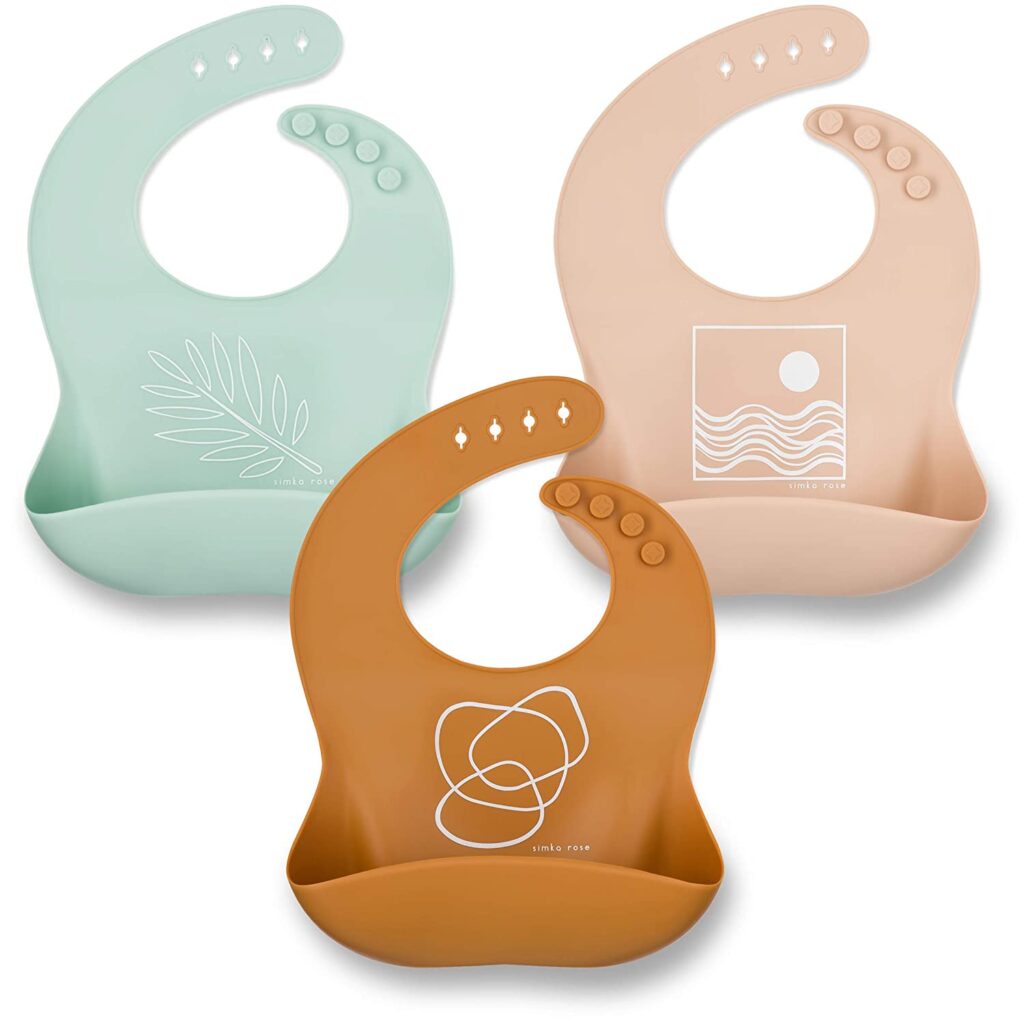
- bib with catch pocket
Other Cooking Methods
I have found that cooking the rice first and then blending, creates the smoothest rice cereal for your baby. But there are a couple of other ways to make rice cereal for your baby.
Instant Pot
You can cook small or large batches of white or brown rice in your instant pot. For white rice, you will put 1 cup of rice and 1 cup of water into the instant pot and cook for 3 minutes with a natural pressure release until the pin drops. For brown rice, you will put 1 cup of rice and 1 cup of water into the instant pot and cook for 24 minutes with a natural pressure release until the pin drops. Feel free to double the recipe if needed.
Rice Powder
- Grind Rice: Place 1 cup of uncooked rice in a coffee grinder or blender. Grind for 1-2 minutes or until you have a very fine rice powder.
- Add Hot Water: In a microwave-safe bowl, add in roughly 1 tablespoon rice powder and 1-2 tablespoons hot or boiling water. Stir until smooth adding more water if needed. Let sit until warm enough to eat.
Frequently Asked Questions
Babies can have rice cereal as one of their first foods. When a baby can start on solids is determined by their own rate of development, which generally comes between 4-6 months of age. Some of the developmental milestones babies need to reach in order to start solids include: if your baby has solid control of their head and neck, if your baby has doubled in weight, and if your baby is reaching for or opening their mouth when you eat (see my guide here). Before you start your baby on purees, you should consult with your pediatrician to make sure your child is developmentally ready.
Rice can 100% be your baby’s first food if you want it to be. It is recommended to wait to introduce the top eight allergen foods to your baby once a few other well-tolerated foods have been introduced, but otherwise, foods can be introduced in any order so choose whatever you are most excited for your baby to have.
No, rice is not a common allergen, however, as with any food, start with a small portion and be aware of any signs that might be an allergic reaction after introducing it.
Rice may cause constipation in babies since it absorbs water and may make it harder to pass stools. Switch to a different whole grain like oatmeal if your baby is having a hard time digesting rice.
How to Store Rice Cereal
This baby rice cereal is quick and effortless to freeze and reheat, making it convenient to have on hand. The frozen cubes are easy to grab and reheat right before mealtime.
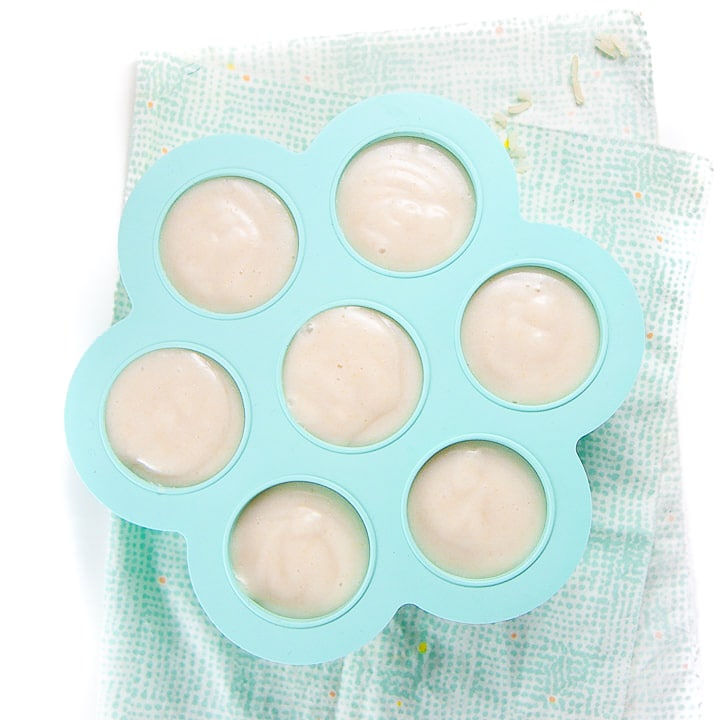
How to Freeze
- After you blend the rice into a puree, you can pour the rice cereal into freezer-safe trays . Do not overfill.
- Place the tray into the freezer for 3-4 hours or until completely frozen.
- Transfer the cubes of frozen rice cereal into a Stasher Bag or ziplock baggie.
- This puree will last 4 days in the fridge and for up to 4 months in the freezer.
How to Re-Heat
- Take the number of frozen cubes you want to feed your baby for that meal and place them in a microwave-safe container.
- Heat in the microwave for 30-second intervals until warm, stirring after every session.
- You can also take the frozen cubes and place them in a small saucepan on the stove, heating on low and stirring continuously.
- NOTE: The puree will be thick when you reheat it. You can thin it back out by adding other purees (see the list below for some of my favorite options), fresh or frozen breast milk, formula, or water. Add a little at a time, stirring in-between.
Label Tip: Don’t forget to label your purees before you place them in the fridge or freezer with the name of the puree and date you made it. Take it from me, you will completely forget when and what is in your freezer by the end of the week;).
Rice Comination Purees
While Rice is great by itself, it’s also super easy to mix and match with other nutrient-dense baby food purees. Give these fun flavor combos a try!
Stage 1 Purees
- Apple Puree
- Sweet Potato Baby Food Puree
- Green Bean Baby Puree
- Carrot Puree
- Roasted Banana Baby Puree
Stage 2 Combination Purees
- Superpower Green Baby Food Puree
- Apple, Spinach + Broccoli Baby Food Puree
- Sweet Potato, Carrot, Cauliflower Baby Food Puree with Chia Seeds
- Banana, Cherry + Beet Baby Food Puree
- Roasted Root Veggies + Thyme Puree
- Broccoli + Asparagus Baby Food Puree with Tarragon
- Mango + Kale Baby Food Puree with Ginger
Feeding Tips
- Place a small amount of puree on the tray during spoon feeding – so that your baby can dip their fingers or hands in the puree. Allowing baby to explore foods in this way helps them learn to self-feed and can help them be more willing to try new textures and foods in the future.
- Have a spare spoon (or three!) – even very young babies often want to be involved in feeding themselves as much as possible. Giving baby an extra spoon to hold can be helpful in giving her a sense of control and also promotes hand-eye coordination.Allow baby to use spoons as a teether during the meal. There are many great options out there but a few we particularly love include the Olababy 3 Piece Set, the NumNum Pre-Spoon GOOtensils, and the ChooMee FlexiDip Baby Starter Spoons.
- Purees are great to keep in your baby’s regular rotation of foods – but if you start feeding with traditional weaning using purees, make sure to progress beyond eating ONLY purees. Once baby can safely and comfortably swallow purees (usually by 7 or 8 months) it’s time to introduce other textures, such as teething biscuits and soft cooked finger foods. Moving onto additional textures in a timely manner may help prevent feeding difficulties at a later age.
Or watch a shortened version of this video here.
Get the recipe: Homemade Baby Rice Cereal
Ingredients
- 1 cup brown rice (I prefer organic short grain)
- 2 cups water
- 1-2 cups liquid for blending (fresh breast milk, formula, water)
Instructions
- Rinse Rice – IMPORTANT STEP: Place the rice in a fine-mesh colander and rinse with water until the water runs clear.

- Cook: Transfer the rice to a medium saucepan and add 2 cups of water. Bring to a boil over high heat, then reduce heat to low, cover with a lid and simmer for 35-45 minutes or until the rice is tender and the water is evaporated. Each batch of rice cooks a little differently, so taste at 35 minutes to see if the rice is tender.
- Let Rest: Remove the saucepan from the heat and let rest for 10 minutes, covered. If using fresh breast milk or formula for blending, remove the lid and let the rice cool for 15 minutes.
- Blend: Place the rice into a blender or food processor and add 1/2 cup of liquid of choice. Blend for 1-2 minutes on medium-high speed until completely smooth and creamy, adding in the additional liquid in 1/4 cup increments, if needed, until you have your desired consistency.
- Eat: Serve to baby or freeze for later.
Notes
Did you make this recipe?
Tag @babyfoode on Instagram and hashtag it #babyfoode!

61 Comments on “How to Make Homemade Baby Rice Cereal”
These are absolutely delicious! I just love that my kids are eating somethings that is tasty and even have health benefits!
Hi – can I serve rice cereal to my baby cold? She drinks cold bottles and she prefers the rice cereal cold but not sure if it was safe. Thanks!
Yes, you can serve this rice cereal cold.
I have a question. I made this and it was wonderful fresh…but the ones I froze it feels like rubber after it’s been defrosted. Is that normal? Will the texture return to normal when liquid is added and it’s heated?
The frozen and thawed rice cereal will be thick (see video) but I have found once you add a little liquid or another puree and gently heated it tastes just as it does when first made. Keep me updated once you try it.
Just to check- formula needs to go into a sterile bottle. So should I mix with water first to freeze and then blend with formula when I’m using and use a sterile dish?
That sounds like a great plan!
If I make this with previously frozen breastmilk for the liquid, can I still freeze it in serving size portions? Just wondering because I read where you don’t refreeze breastmilk, but I didn’t know if that applied since this breastmilk has been cooked.
I would recommend cooking the rice with water, then pureeing the rice with either fresh breastmilk or water. Once you freeze and thaw the rice cereal, you will probably need to thin it down a little since it gets thicker once it cools and this is a great time to add in frozen (and thawed) breastmilk. Thanks for bringing this to my attentions – I just edited the recipe card to be more clear.
If I decide to soak the rice, how long do I soak it? Do I soak before or after I rinse it?
This is a great question and I just updated the post and recipe card with full instructions on how to soak the rice.
I used thawed breast milk to make the whole batch. Is it still safe to feed her this if it’s been refrozen?
Can I use a rice cooker to steam the rice?
Yes, you can use a rice cooker to cook the rice. I think that is an awesome idea! Just make sure you rinse the rice really well before cooking or it will be too starchy.
Is it safe to use tap water? Or should it be filtered water/ boiled water? When blending the rice? If I add formula, Im not sure if I can freeze it once prepared. Therefore, I was considering using water to prepare the puree.
I always use tap water, but the water in our city is good and you will be boiling it while it cooks. But you can always use filtered or distilled water if you prefer. You can freeze formula and reheat it. But you can also make the rice cereal with water and then use formula to thin out the puree when you reheat it.
Hi!
I just made this, however mine still has very tiny grain texture. Did I not cook the rice long enough or could it have been the rice I used ?
I used an organic long grain brown rice.
Thank You !
Not sure if you tasted the rice before blending but it should be the consistency of what you would eat. It’s hard to say without tasting it, but I think it just needed more time in a blender with maybe a little more liquid. My rice cereal takes a full 2 minutes in the blender to get that creamy texture you see in the photo. Hope that helps.
I added two cups of liquid but it still had little small pebble like grains. I’m going to try this again and cook it longer and blend longer. Thank You for the reply 🙂
Hi again,
I’m thinking it’s my blender. What blender do you have ?
Thank You
Taylor
Can I use any normal kitchen blender (the one I use for prep of adult meals)?
Yes, any blender will work great!
Can I make rice and instead of blending and freezing, can I keep rice In fridge and blend rice daily.
I haven’t thought of this, but it sounds like a great plan! I would just not serve baby rice that is older than 5 days old.
Is it okay to warm up the frozen rice I used with breast milk in the microwave?
Hi please help.
My baby loves the rice cereal but since I have introduced new things, she prefers pear and Banana on its own. The rice cereal seems to be too lumpy for her. When I defrost it, it’s more grainy, if I add water to thin it out, this makes it too watery and my breast milk. How do I make the rice creamy and thick. She gags on the rice bits. But still likes the taste just gers fed up with gagging on the lumpy bits. Thank you
It sounds like you need to blend it for longer. I usually recommend blending for 1-2 minutes at high-speed but it may take another 1-2 minutes to get it really smooth. Hope that helps.
Thank you for the well written recipe. This was the first solid my baby tasted and he loved it
I am so happy your little one liked this recipe! Keep up the good work momma!
How long does the puree keep in the refrigerator?
It keeps for 4 days in the fridge.
I made this but when I felt the consistency of it, I could feel some grains, very very tiny. Is that okay?
Yes, some texture is perfectly okay for your baby to start on.
How long does this last in freezer?
For up to 4 months in the freezer.
Hi, I used the Lundberg short grain rice as recommended, but can’t seem to be able to blend it out to a smooth consistency. No matter how long I blend it for, and no matter how much water I add, it still leaves behind the tiny yellow husks that can’t be broken down. Where did I go wrong?
Sorry, you are having issues with this recipe. Not sure how big the husks are in your puree. Mine looks like the recipe above – which is very smooth but if I take some puree between my fingers I can feel a slight texture. If the husks are small enough, the puree should be fine as texture is okay to serve baby.
I absolutely love your recipes! I am new to this baby food journey and love how simple you have made everything. I see that you stated 4 days in the refrigerator but I can not find how long it lasts in the freezer. Did I overlook this? Thank you so much for all your great tips!
So glad you are here! Thanks for catching this, I just updated the recipe card. This puree can last for up to 4 days in the fridge or 4 months in the freezer.
Hey! I love this! If I wanted to try making rice powder, should I still rinse/soak it? Or would that not be needed because I’m not cooking it?
If grinding the rice into powder, then you would skip the rinse/soak part of the recipe. Thanks for checking.
Hi. Michele, Great recipe!!! Quick question… Would you mind telling me, where can I find the information you’re providing about arsenic content levels in organic brown rice are lower than white rice? I’ve searched all over online and what I’ve found is that brown rice, doesn’t matter if it’s organic, has the highest arsenic content than white rice, that’s why I ended up using california grown basmatic organic white rice since it has the lowest arsenic levels according to what I found. I know brown rice has more nutrients than white rice but as a first time single mom
I get freaked out by everything. Thank you in advance.
Hi! After doing further research, organic and conventional rice have the same amount of arsenic but organic rice does contain less pesticides. The guide has been updated with this new information. Thank you for bringing this to our attention. xo, Michele
Hello! Thank you so much for this. Ive been making my baby homemade purees and didnt realize it was also possible to make rice cereal for him. I have Jasmin rice. Is brown rice the best to use for the recipe?
Thank you agIn
So glad you are here! You can use any rice you prefer, though brown rice does have more nutrients in it.
I’m starting to have my baby eat purées and was wondering if this cereal could be something added to her bottle? If I make the consistency thinner, is that something this could work for?
Thank you!
I don’t usually recommend adding cereal to a baby’s bottle unless recommended by your pediatrician. But I would say this puree is better for serving on a spoon or to let your baby self-feed rather than in a bottle as it isn’t as smooth as the store-bought variety.
After I asked this question I did more research and learned the same thing you’re saying. Someone told me to add cereal to her milk & im glad I waited.
Thank you for getting back to me and for the recipe!
Hello, I tried making this recipe using the same brown rice you use and it came out thick (once i added it to the blender and added several amount of water). I kept adding more liquid and it was almost too much before is was a paste texture. The taste was gross from all the liquid I’m sure. How much liquid do you add to the blender? Also can you tell me more about the soaking process. Do i rinse the rice or soak it in water prior to cooking? And for how long? Thank you, I hope I can get this recipe right as I’m excited to introduce baby food to my baby.
Did you rinse the rice first? I find that if you don’t rinse the rice first it can become too thick and paste-like. You can soak the rice if you like for 30 minutes or up to 2 hours and then you still have to rinse the rice until the water runs clear. Because it is a grain, it will be thicker than a fruit or veggie puree but it shouldn’t be paste-like. Hope that helps.
I just wanted to write a review not only for this recipe but for this site as a whole. I’ve been using BabyFoode recipes since my first baby girl started solids, and I have found so much joy and peace with the recipes and information on this site. There is so much detail, and this is the resource that gave me confidence when starting my baby girl on solids. She’s 18 months now and I still visit frequently for toddler meal and snack ideas! I’m so thankful for this resource and recommend it to all my mom friends!! Thank you for the detail and care you put into each recipe and all the content posted here!!
Lexi, you just made my day!! Thank you so much for your kind words and positive review. I’m crying now over here ❤️
This made a lot of things so much easier and simple. I soaked my rice all night and made it in the morning and still got some stored away. Thank you so much.
Hello, can I use frozen breastmilk (thawed) for the blending process ?
I recommend only using fresh breastmilk.
What’s the instructions for storing? like how long can they be in the refrigerator and freezer?
Hi Theo! There is a whole section in the post titled How to Store with the information you are looking for!
What are you basing the claim that organic rice has less arsenic on? I’ve only ever read that the arsenic levels are the same regardless of organic or non-organic.
Hi Janis! After doing further research, you are correct, organic and conventional rice have the same amount of arsenic but organic rice does contain less pesticides. The guide has been updated with this new information. Thank you for bringing this to our attention. xo, Michele
Do I need to use any special water or just tap water?
Hi! I prefer using filtered or bottled water. You can also use sodium free bone broth or sodium free chicken or veggie broth for more nutrients. xo, Michele